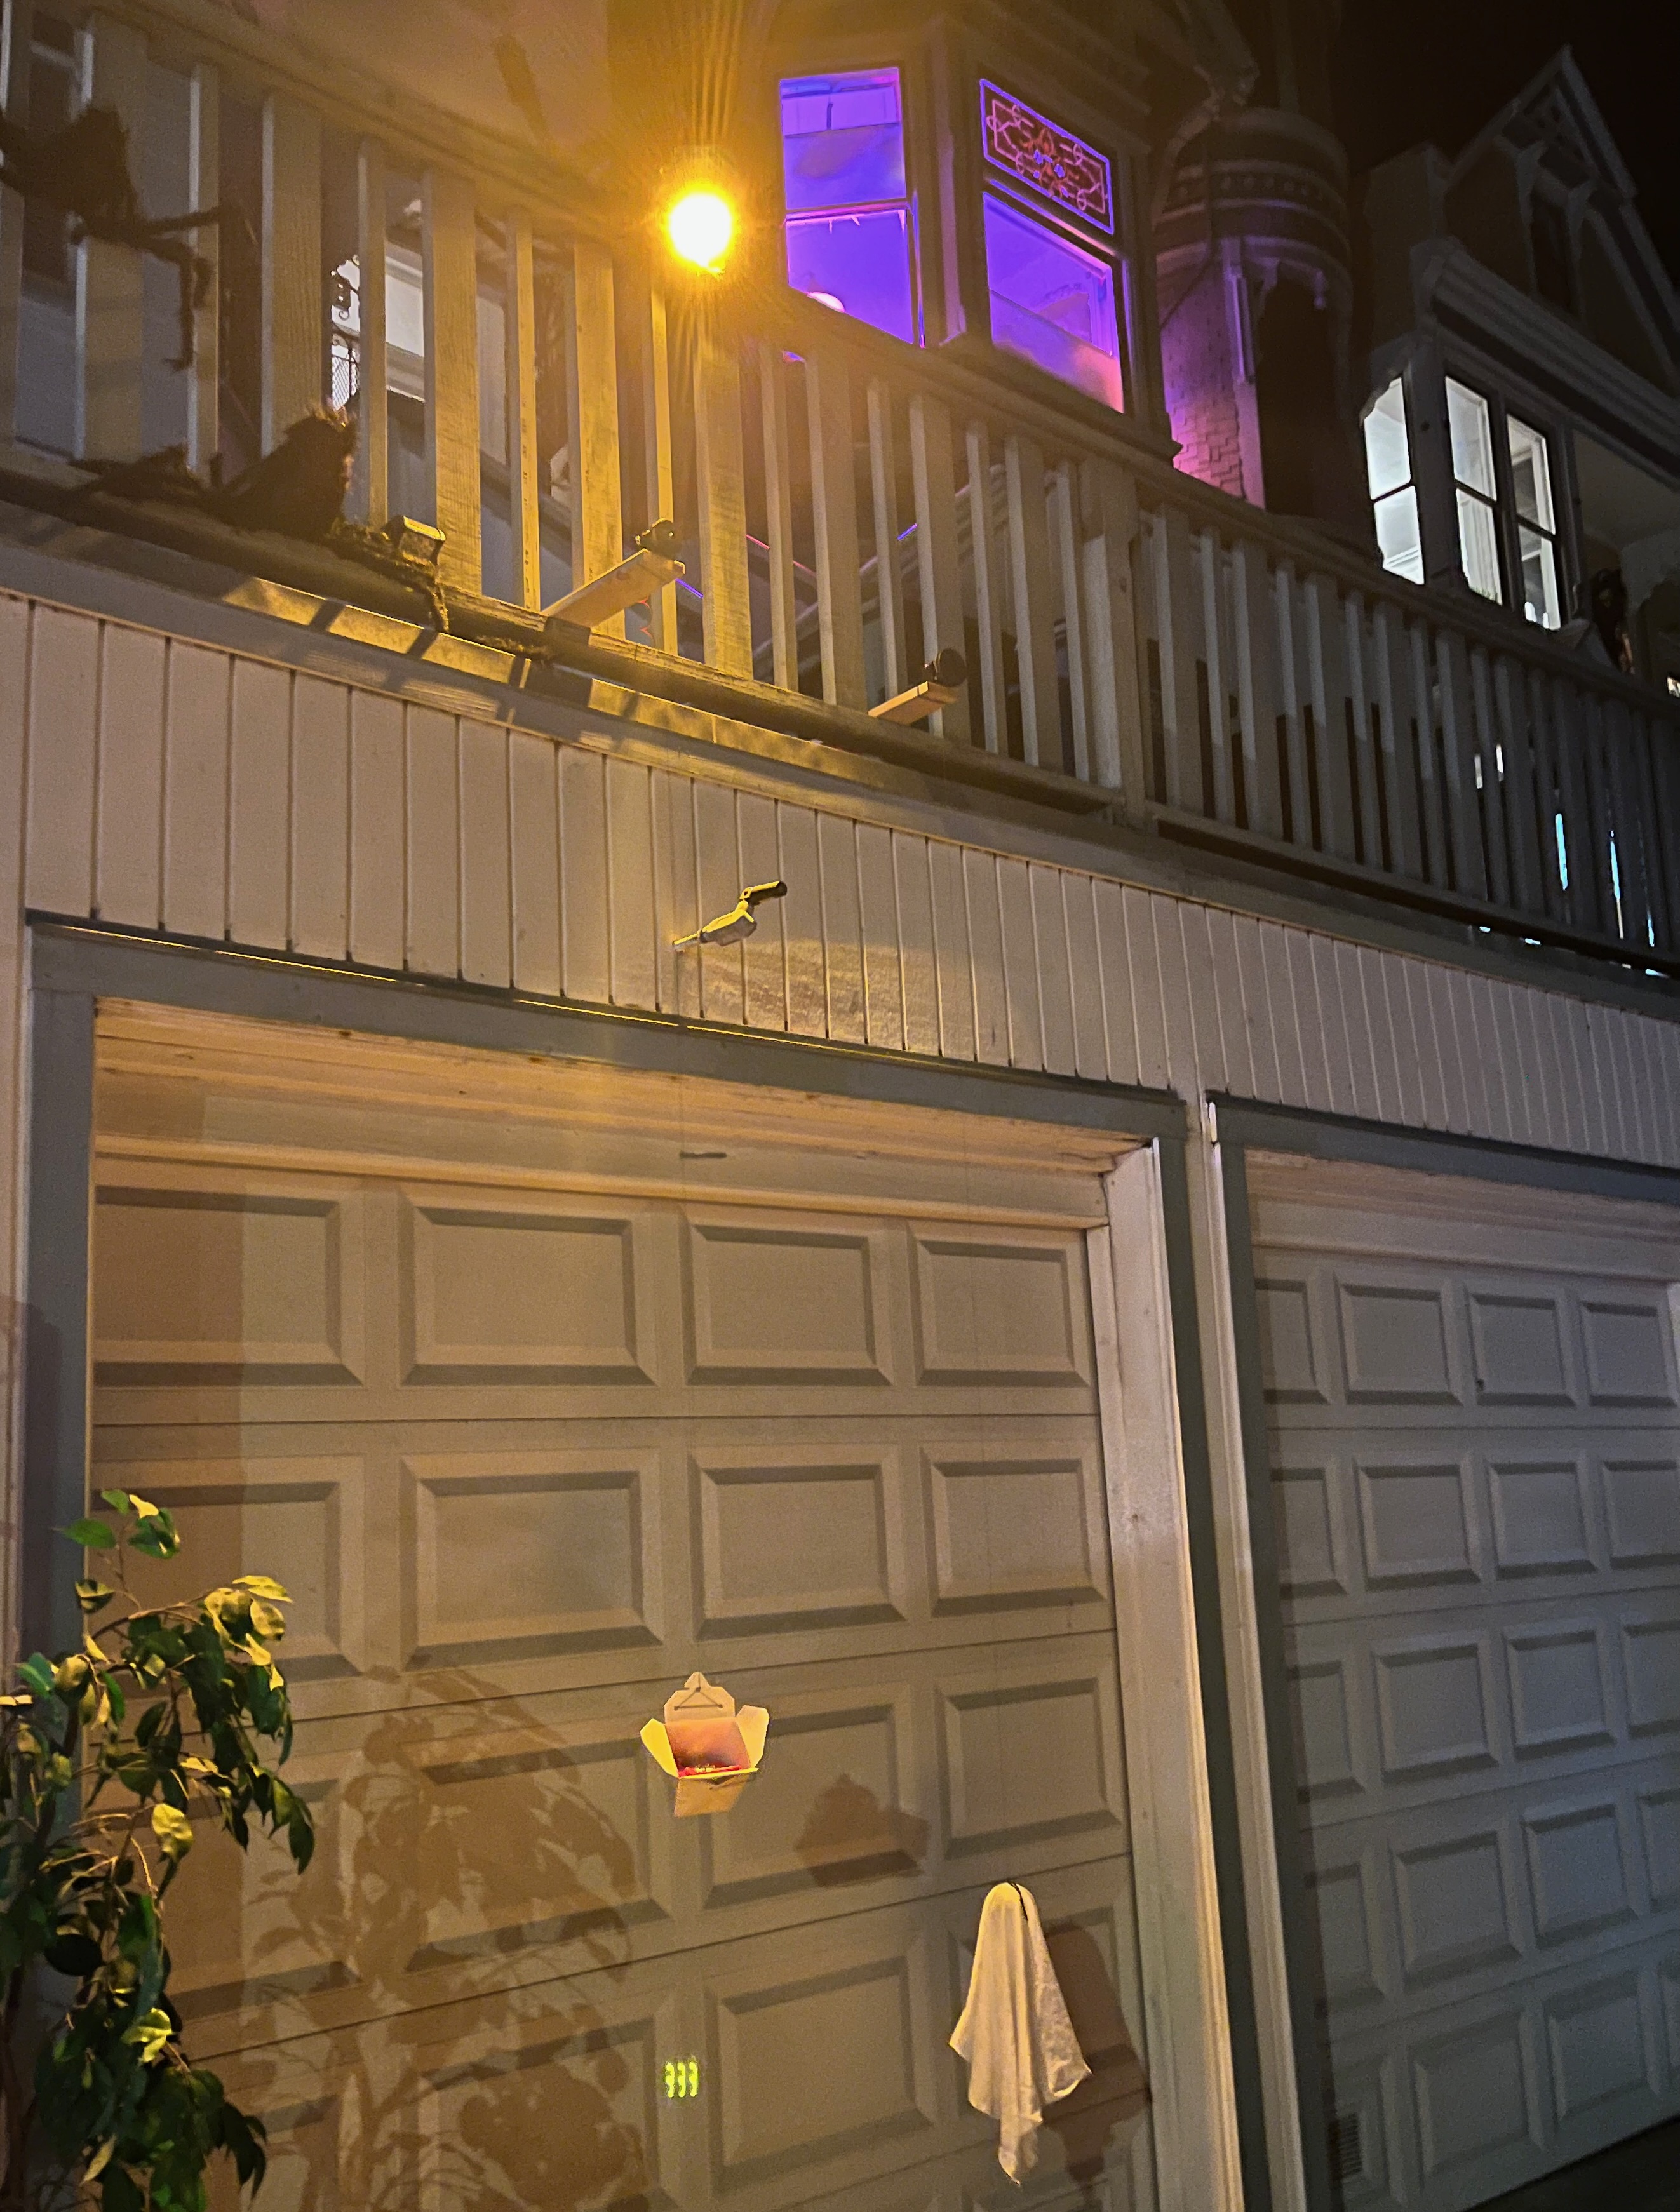
Halloween project: Kitkat from the sky
Oct 31, 2026
Motion triggered dropping of a Chinese takeout box full of candies
My neighborhood does this Halloween block party. I am participating first time this year. Organizers gave me some basic direction: make a candy dispenser. Well, here is my take: a motion triggered dropping of a takeout box full of candies from the sky. I had so much fun designing it and sharing it with my neighborhood. Here, I detail everything so you can create this and build on top of it.
Above is a reduction of the setup on my desk. One ghost moves up and down irregularly. The other motor holding a Chinese takeout box is triggerd by a beam break. The takeout box holds a few KitKats and pauses at the bottom for 5 seconds before rising again.
Table of Contents
List of Materials. 3D-printing spools. Design and code.
List of Materials
- (processor) ESP-32S x 2
- (sensor) tf-luna lidar
- (motor) NMEA-17 x 2
- (motor mount) L-bracket
- (motor stepper) TB6600 4A 9-42V x 2
- (sound player) DFPlayer PRO DFR0768 - MP3 player
- 3.5mm Female Stereo Audio Jack Breakout Board with Bent Pin
- Fishing line
- (Optional) Fog lights. I used Nilight 4 Inch LED Light Pods Amber Spot Beam Driving Fog Lights.
3D-printing spools
Open face pancakes rather than a spool
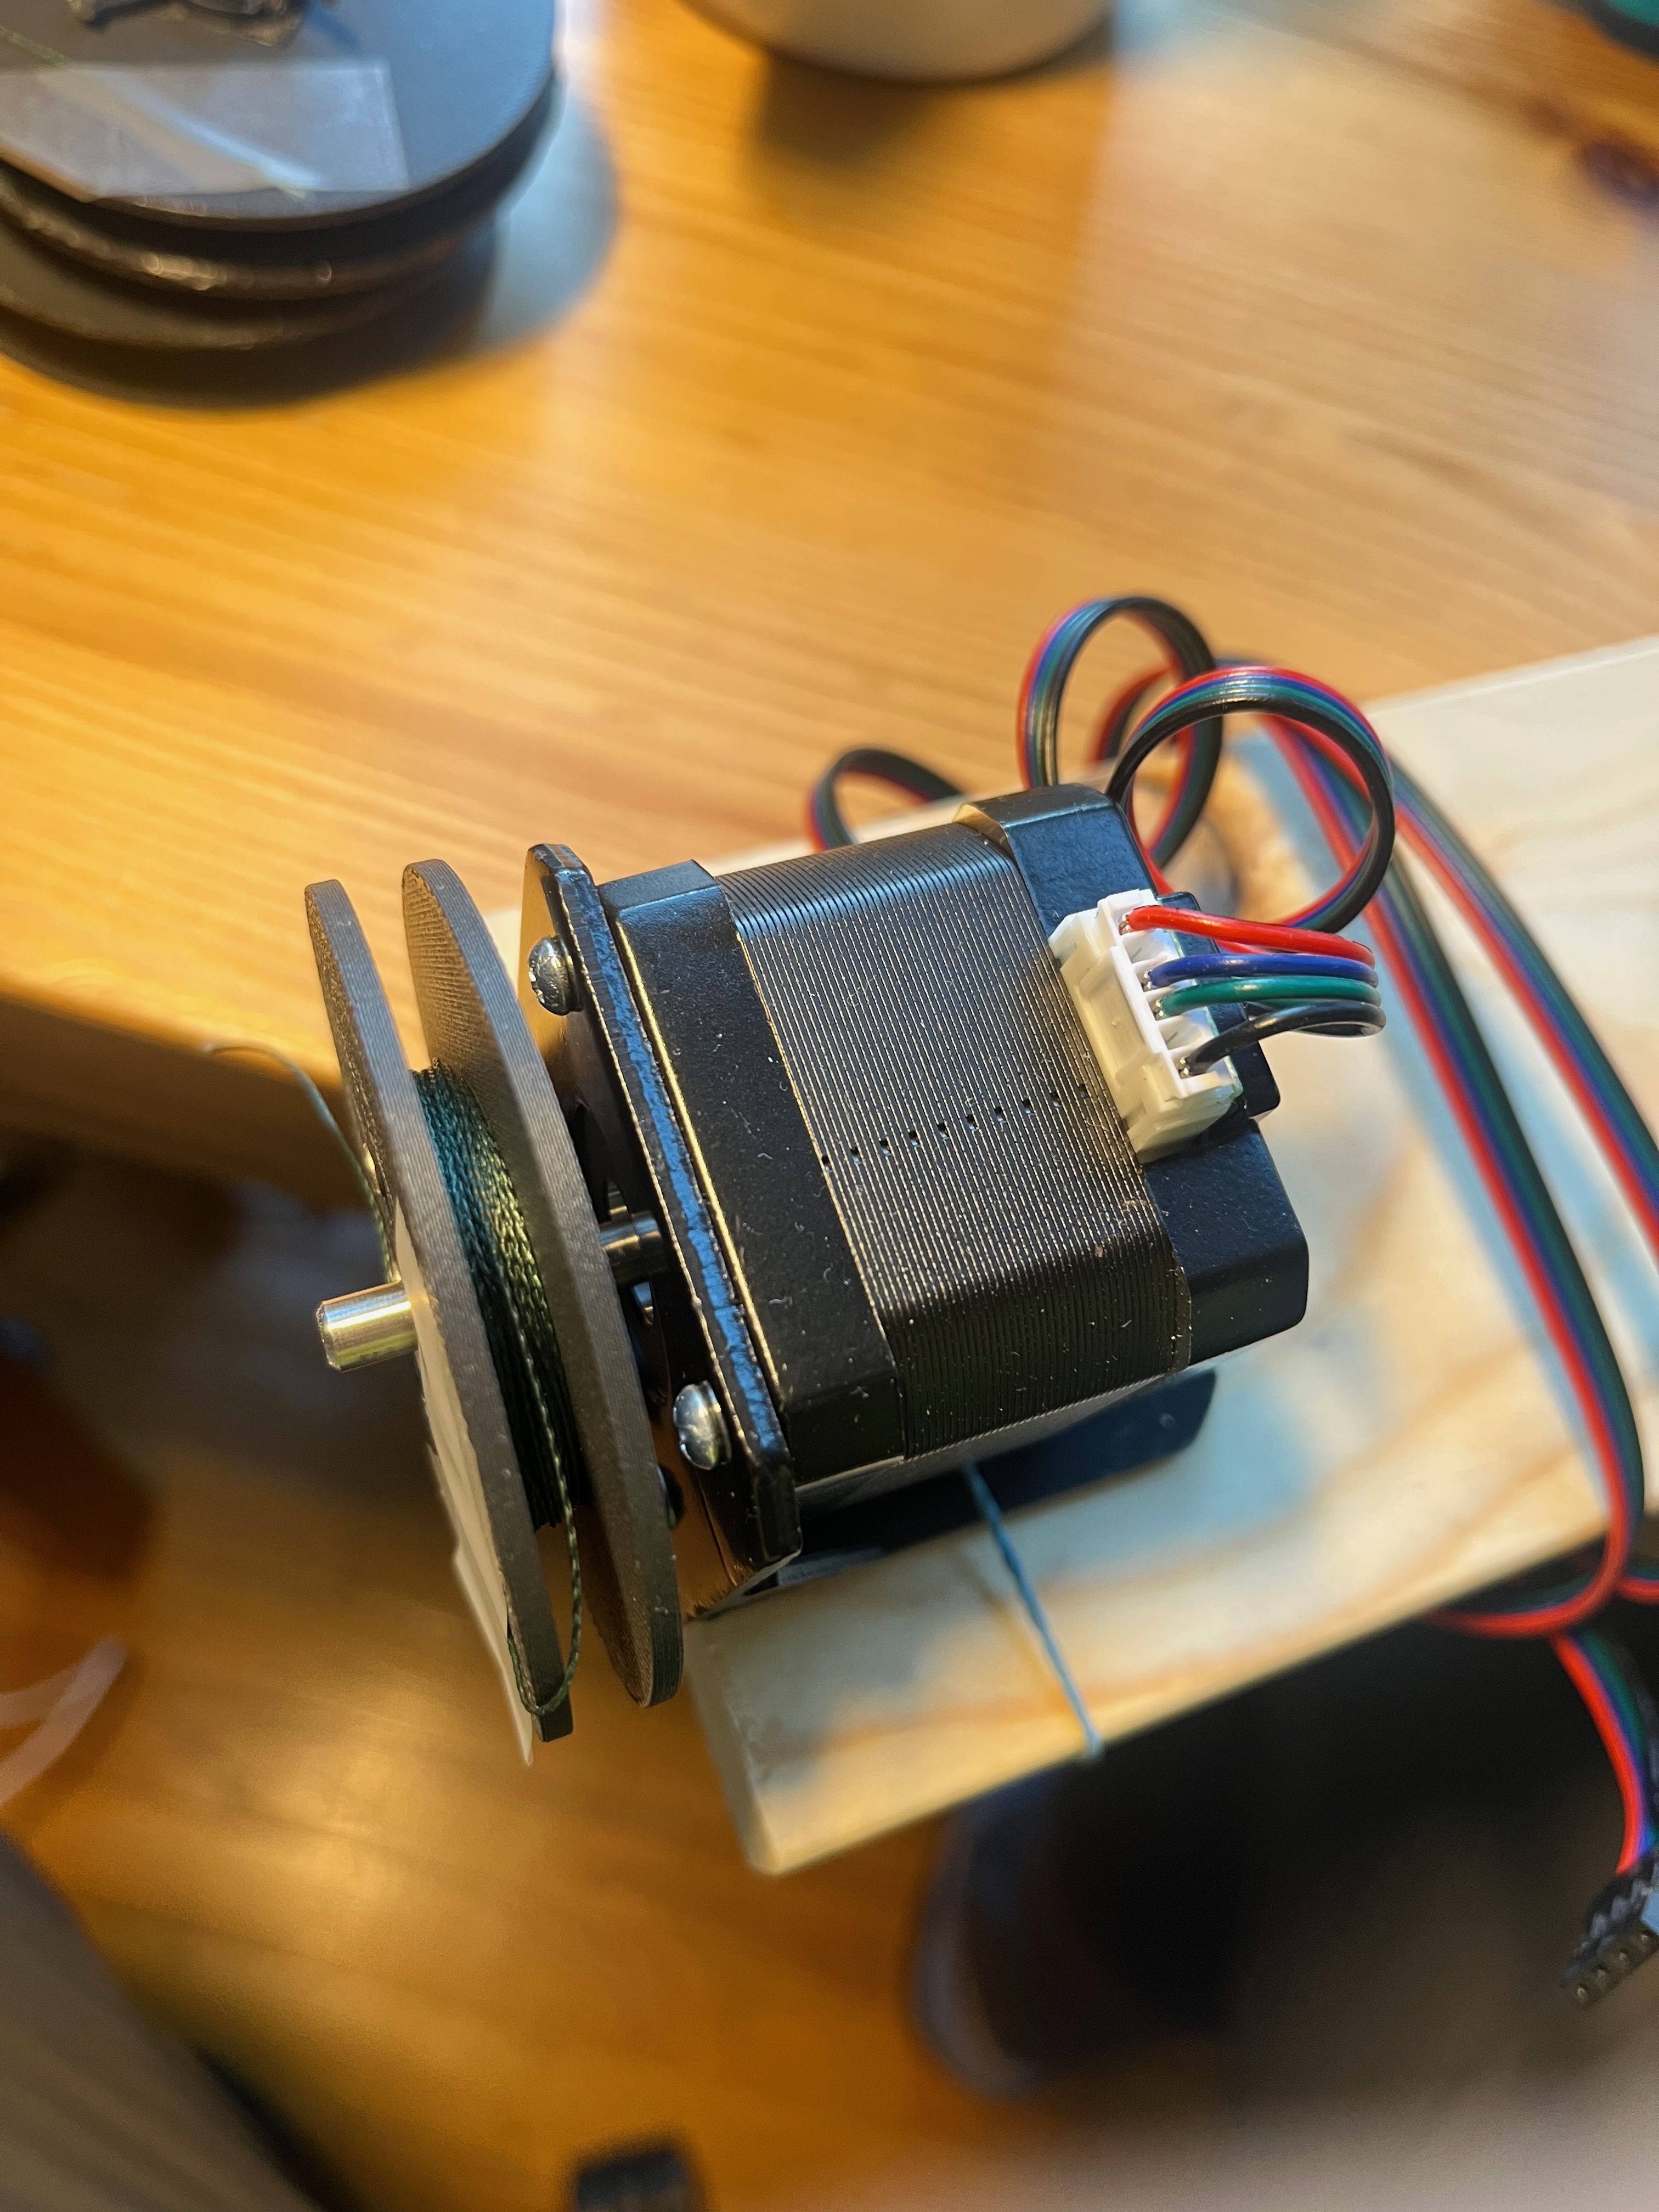
It was very difficult to buy spools of the exact size and so I 3D-printed it myself. Because of the unique hollowed-out structure of the spool, reinforcing structures must be added in the groove if the CAD design is one single spool object. You can skip adding reinforcing structures if you create two open face pancakes and screw them together to form a spool. This creates very clean product very quickly. I used Claude to generate the spool design. It programmatically draws the object so you can edit the code directly to change parameters. The picture shows the final product. Here are the CAD objects.
Download CAD file, cap Download CAD file, base
Design and Code.
The setup is made up of 2 processors.
Download ESP1 Code Download ESP2 Code
ESP32 #1: distance sensor + wifi + sound
ESP32 #2: control motor (optionally lights)
With a phone joined on the wifi from the ESP1, and connected to http://192.168.4.1/, we can (1) read out the distance from the sensor and (2) use the “up” and “down” button to control the takeout box on the first motor. The 2nd motor is connected to a ghost which just moves up and down irregularly. When the beam crossing is cut to less than 1 meter then, the takeout box will drop for 1.5 meter, pause for 5 seconds before rising up again.
Data flow
ESP32 #1 runs a simple web server on port 80 with three routes: / (the web page), /data (a small JSON status), and /jog (the jog buttons). The web page uses fetch() on a timer to ask /data for updates, and calls /jog when you press a button. ESP32 #2 joins ESP32 #1’s Wi-Fi network and requests http://192.168.4.1/data every 200 ms to obtain sensor data.
Connectivity
ESP32 #1: TF-Luna lidar
TF-Luna
| pin | Connects to |
|---|---|
| 1 +5V | ESP32 5V (VIN) |
| 2 RXD | GPIO17 |
| 3 TXD | GPIO16 |
| 4 GND | GND |
5 and 6 Leave unconnected
DFPlayer Pro (DFR0768)
| pin | Connects to |
|---|---|
| VCC | ESP32 5V (VIN), or 3.3 V |
| GND | GND |
| TX | GPIO25 |
| RX | GPIO26 |
Audio out (L, R, GND) 3.5 mm jack breakout L, R, GND
The jack then goes to your Bluetooth transmitter or powered speaker.
ESP32 #2: motors and light
Stepper TB6600 x 2
| pin | Connects to |
|---|---|
| TB6600 #1 PUL+ | GPIO27 |
| TB6600 #1 DIR+ | GPIO32 |
| TB6600 #2 PUL+ | GPIO26 |
| TB6600 #2 DIR+ | GPIO33 |
| TB6600 #1 and #2 PUL- and DIR- | GND |
VCC / GND: one 24 V adapter each. Coils: A+ and A- to one motor coil, B+ and B- to the other.
Light module
| Light module PWM / TRIG | GPIO18 |
| the light module’s signal GND | GND |
It is advised that you add in fuse for the light module.